Philippines Misamis 3×135MW Coal-Fired Power Station
- Brand: ZHM Large Span Space Frame
- Type: ZHM Large Span Space Frame
- Price: RMB
- Promotion: RMB ( 0 Customers Bought)

Philippines Misamis 3×135MW Coal-Fired Power Station
| Dry Coal Shed Truss Space Frame Structures
This process details the complete installation steps of the large spatial truss structure for the dry coal shed of the ZHM Huawu Steel Structure Philippines Misamis 3×135MW coal-fired power station, from foundation preparation to final acceptance.
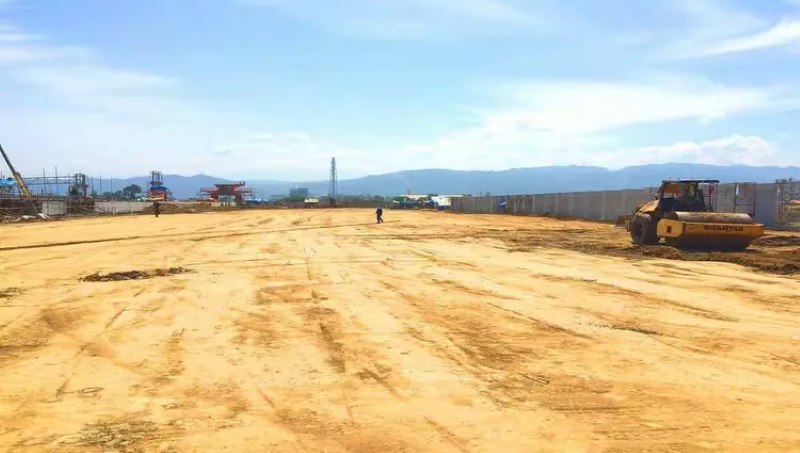
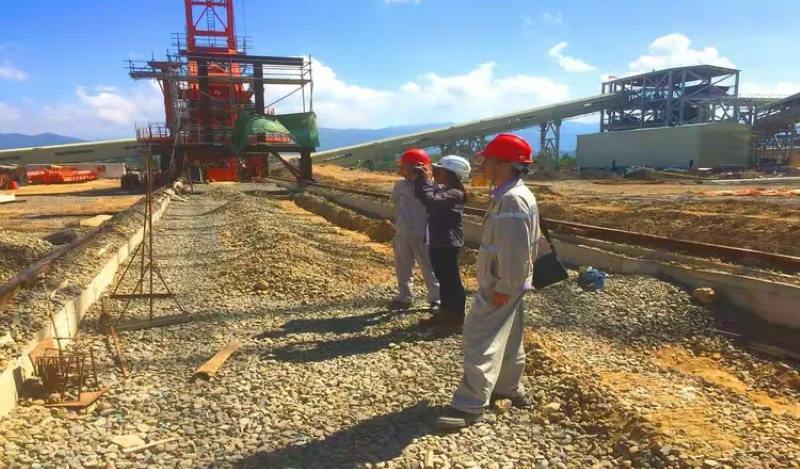
1.Site Leveling and Hardening:
Remove obstacles and debris from the installation area.
Level the site to ensure that large machinery (such as cranes) can walk and work safely.
Harden critical areas (such as assembly areas and crane positioning areas) using concrete or steel plates to improve foundation bearing capacity and prevent settlement.
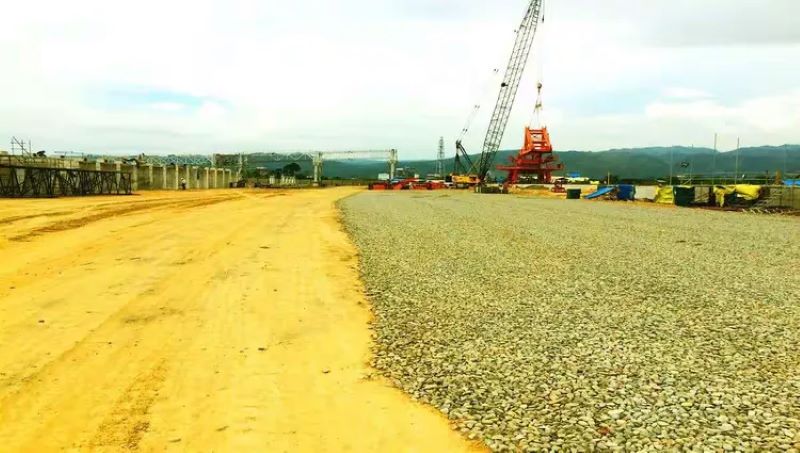
2.Lay and Compact Gravel After Leveling:
In hardened areas or areas requiring temporary reinforcement, lay a layer of crushed stone or gravel.
Use a roller or compactor for thorough compaction to create a stable, flat working surface, facilitating material transportation, placement, and ground assembly.
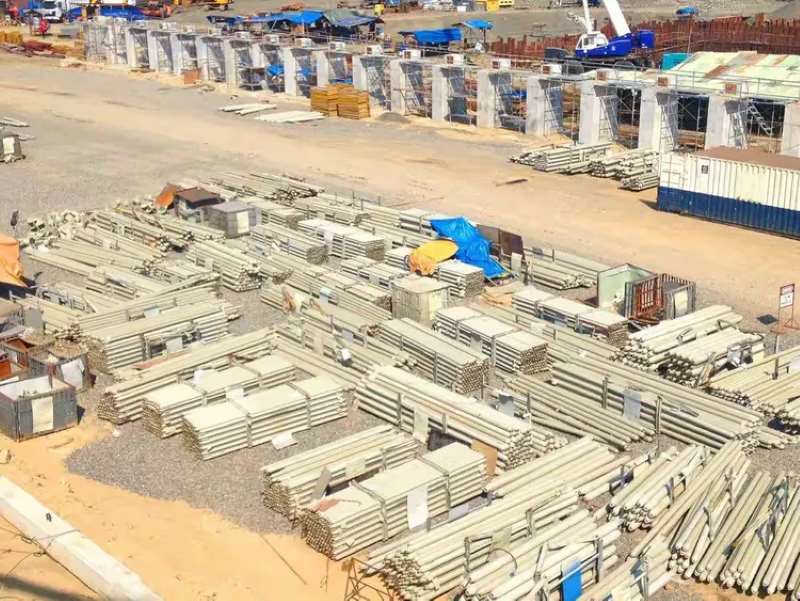
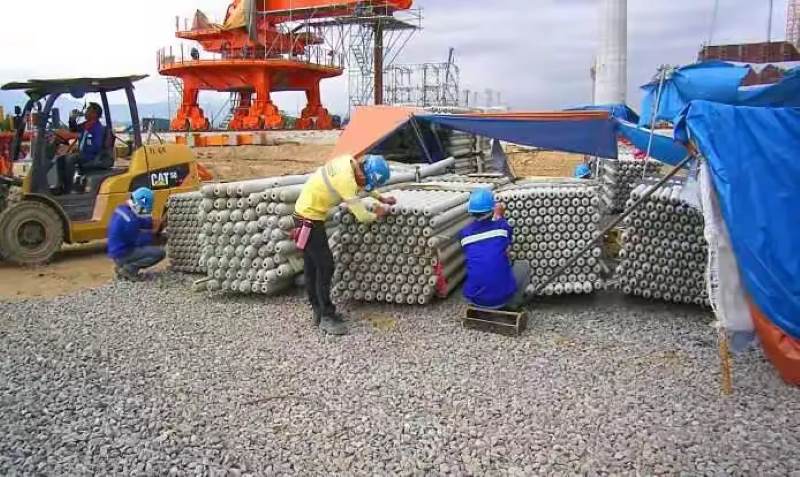
Transport truss components (rods, bolt spheres/welded spheres, supports, purlins, accessories, etc.) to the designated area of the construction site according to the plan.
Strictly classify and stack according to component type, specifications, and installation sequence, raising them to prevent moisture and deformation. Arrange neatly and clearly label for easy access.
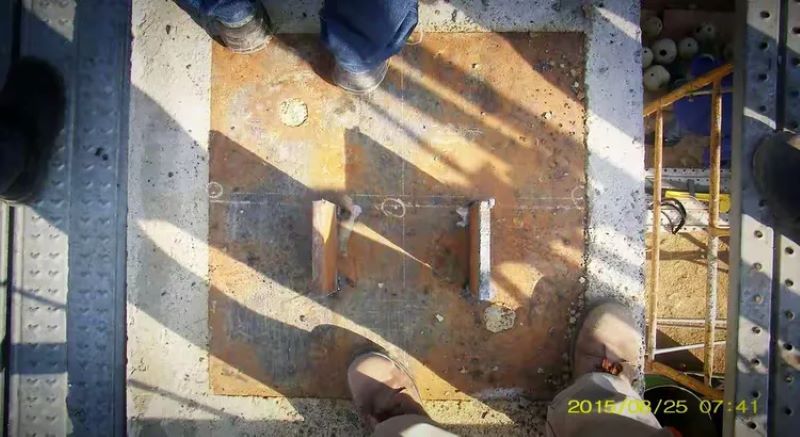
Using precision instruments such as total stations, accurately verify and determine the plane coordinates and elevation of the truss support foundations based on the design drawings.
Precisely mark the support centerlines, axes, elevation control lines, etc., on the concrete foundation as reference points for installation positioning.
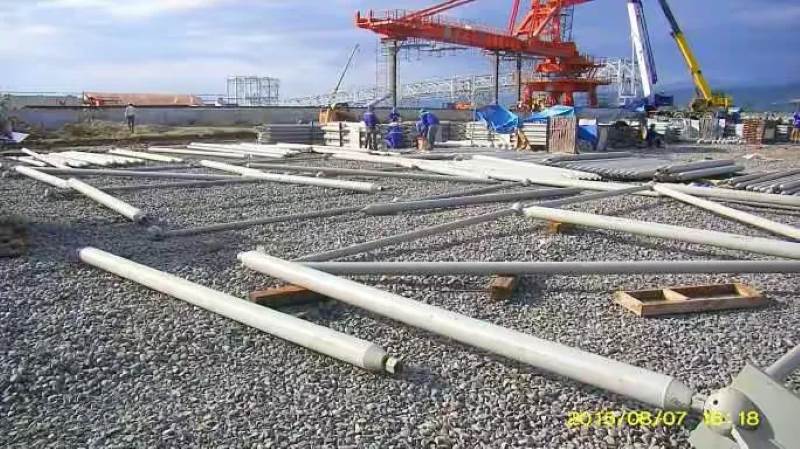
Rod Classification: Classify, count, and check the rods in detail according to the drawings and installation sequence (length, bending, corrosion protection, etc.).
Prepare Installation Sleeves: Prepare high-strength bolts, sleeve wrenches, and other installation tools, and check if the sleeve specifications match the bolts. For bolt sphere joints, prepare the necessary bolts, sleeves, cone heads/sealing plates, and top screws.
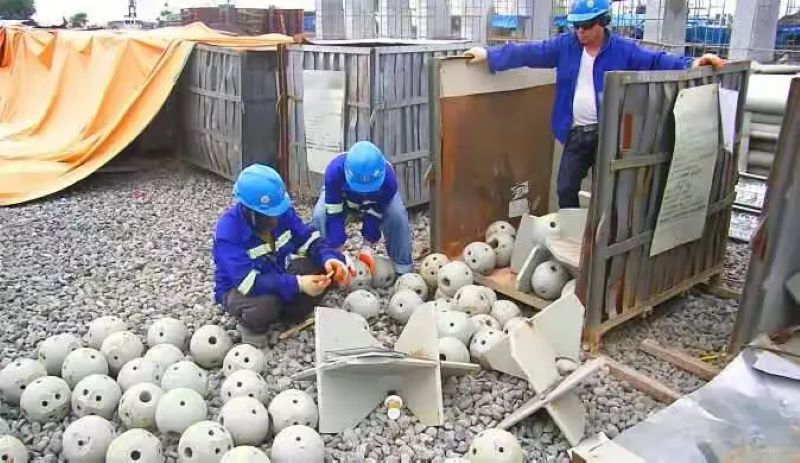
According to the detailed design drawings, number and label all bolt spheres or welded spheres. This is a key step to ensure the correct assembly of the truss, ensuring each sphere joint is installed in its designed position.
7.Select Rods for Connecting & Complete Pre-Installation Preparations:
"Select rods for connecting" may refer to choosing rods for specific positions or starting units.
Broader preparations include: checking the status of lifting equipment (cranes, rigging, shackles, etc.), setting up necessary operating platforms or scaffolding, and providing detailed safety technical disclosures to construction personnel.
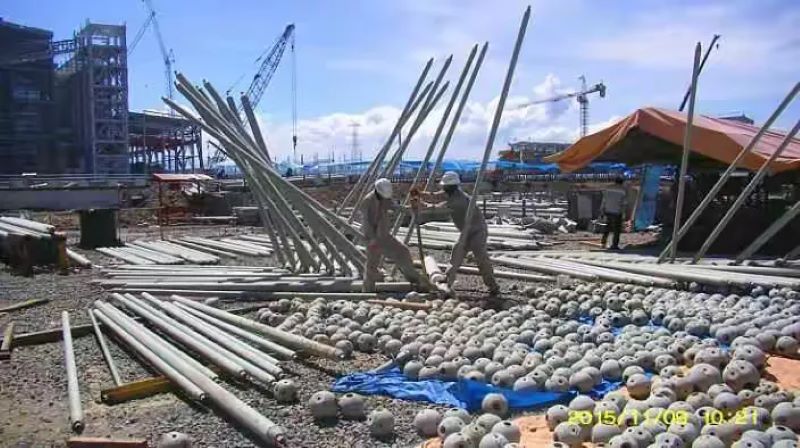
8.Ground Assembly of Cone Combinations:
For bolt sphere joint trusses, typically assemble a bolt sphere with multiple connecting rods on the ground into a stable cone unit (also known as a "small assembly unit"). This is a common method to improve installation efficiency and accuracy at height.
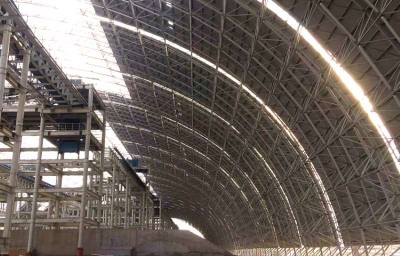
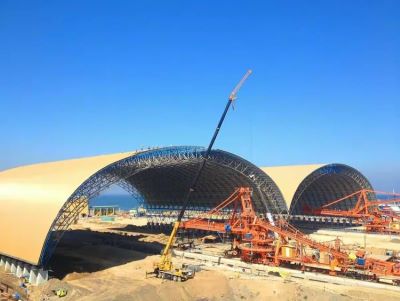
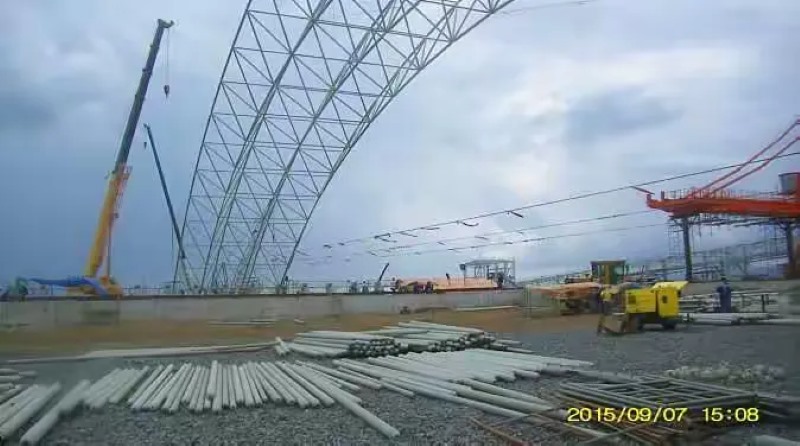
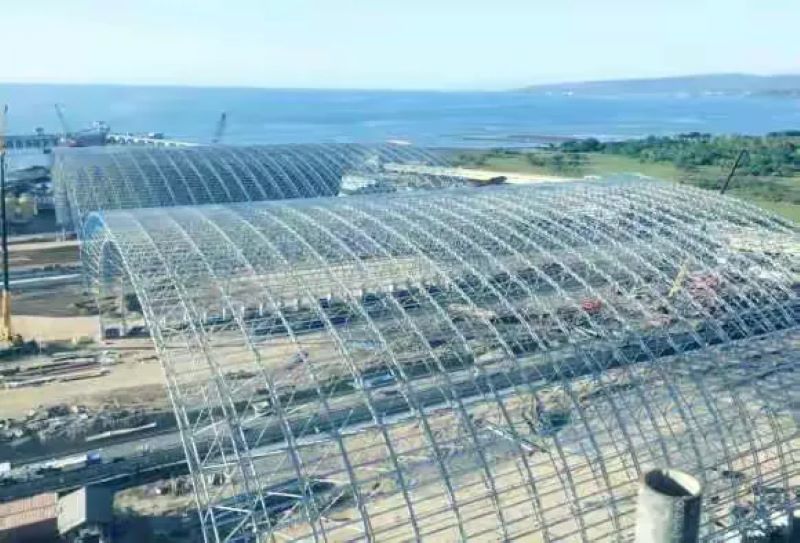
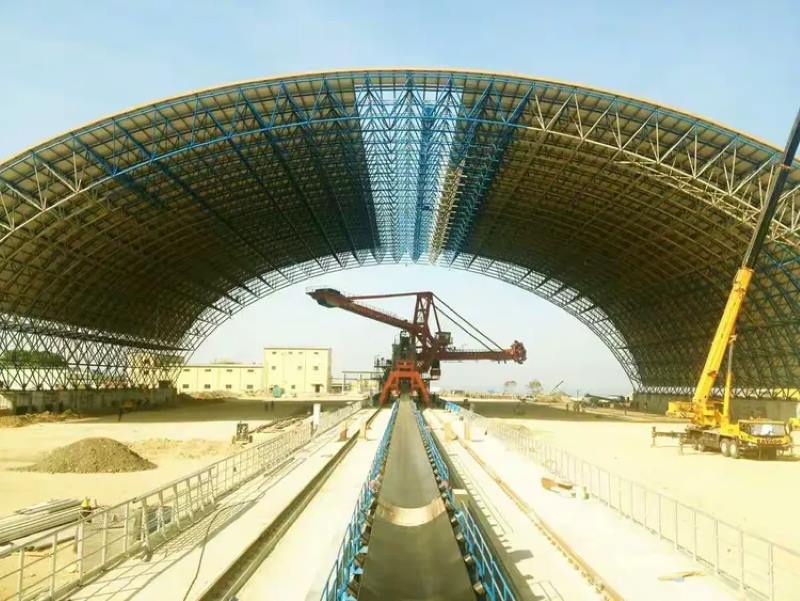
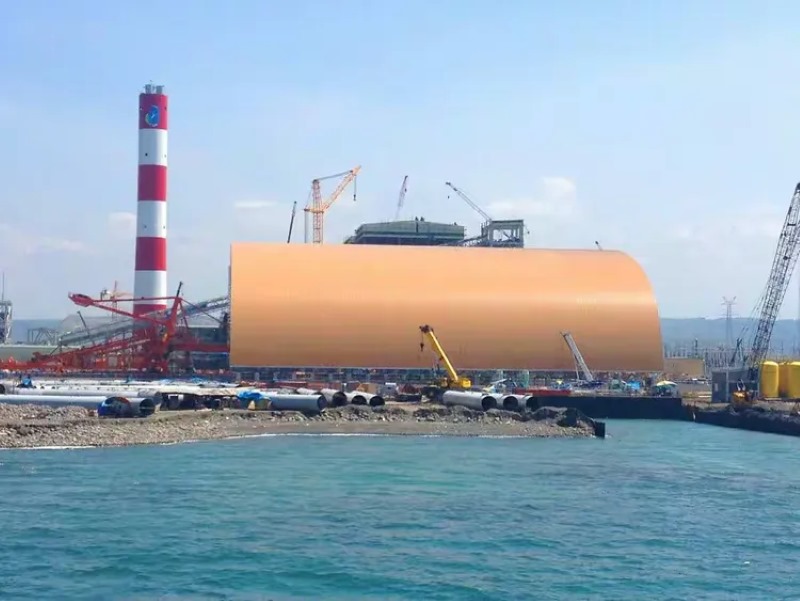
The dry coal shed truss usually adopts a shell (cylindrical shell) form. The initial installation usually starts from one end gable or the middle.
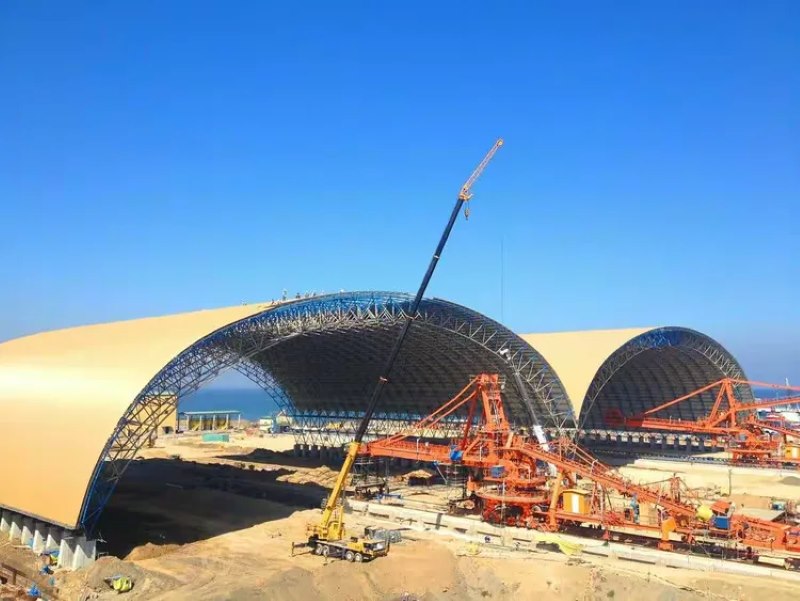
Use a crane to lift the pre-assembled cone unit or small assembly unit to the designated starting position, accurately installing it on the leveled supports to form the initial stable structural unit.
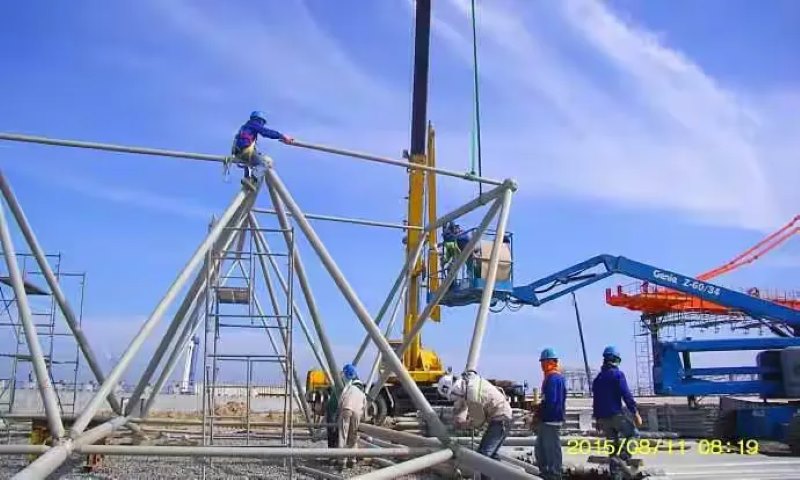
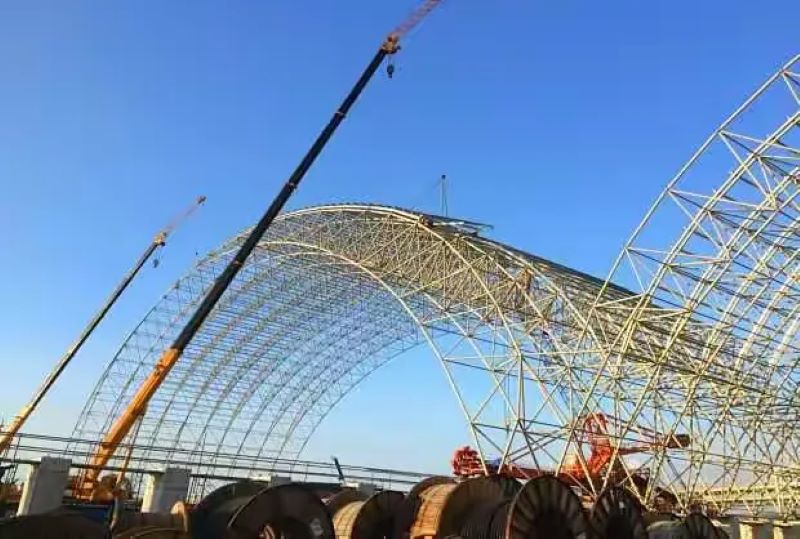
Based on the starting unit, continue to lift adjacent cone units or rods, sphere joints according to the design drawings and numbered sequence, using high-strength bolts for connection or welding (depending on the joint type), gradually expanding the truss.
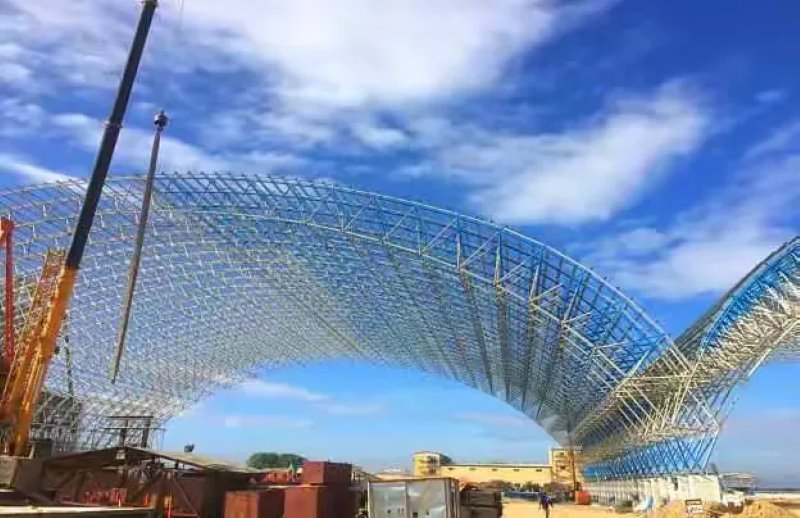
During the assembly process, especially before the extended part forms overall rigidity, the crane must assist in holding the front end of the truss (cantilever end), and temporary support and leveling must be provided below using jacks, sleepers, or special supports to ensure installation accuracy and structural stability before proceeding to connect the next unit.
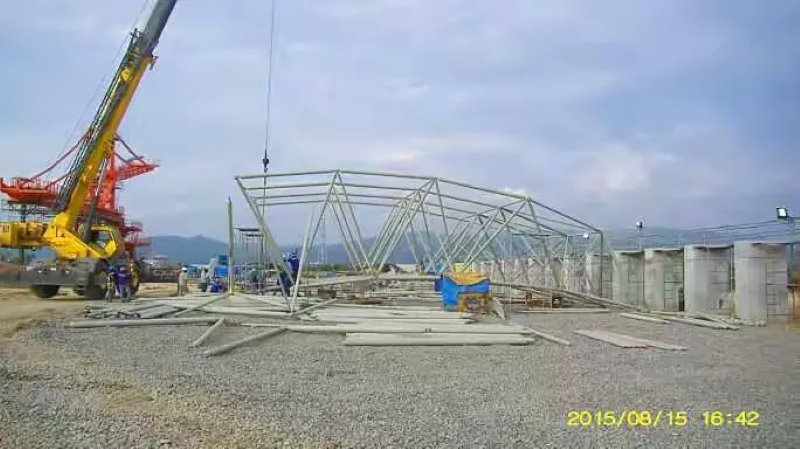
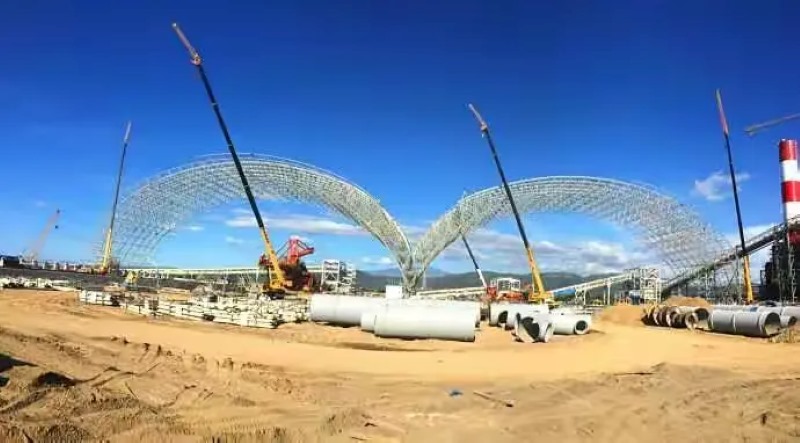
Repeat steps 10-11, continuously assembling and extending along the length direction (longitudinal) of the truss.
When the truss span increases and the cantilever length increases, the risk of structural stability increases.
Set up cable wind ropes (safety ropes) on both sides or at the front, anchoring one end to ground anchors or reliable structures, and connecting the other end to key nodes at the front end of the truss.
By adjusting the tension of the cable wind ropes, strictly control the lateral displacement, twisting, and deflection of the truss during the assembly process, ensuring the geometric shape and construction safety during installation.
14.Suspension of Aerial Components After Both Sides are Positioned:
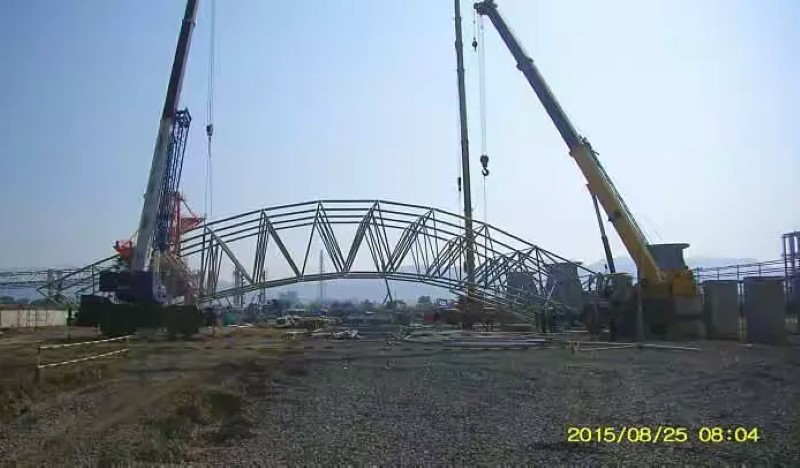
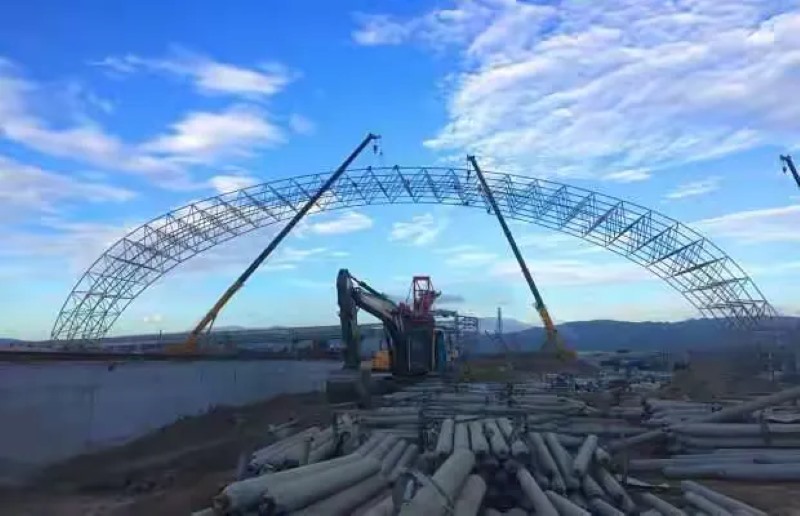
When the truss is assembled from both sides (for example, two gables) towards the center, a "gap" will form in the middle when the trusses on both sides approach the closure position.
Accurate measurement of the gap dimensions is required, and the components forming this gap, including rods and ball nodes, should be pre-assembled into a complete unit (the "joint section" or "aerial component") on the ground or at low altitude.
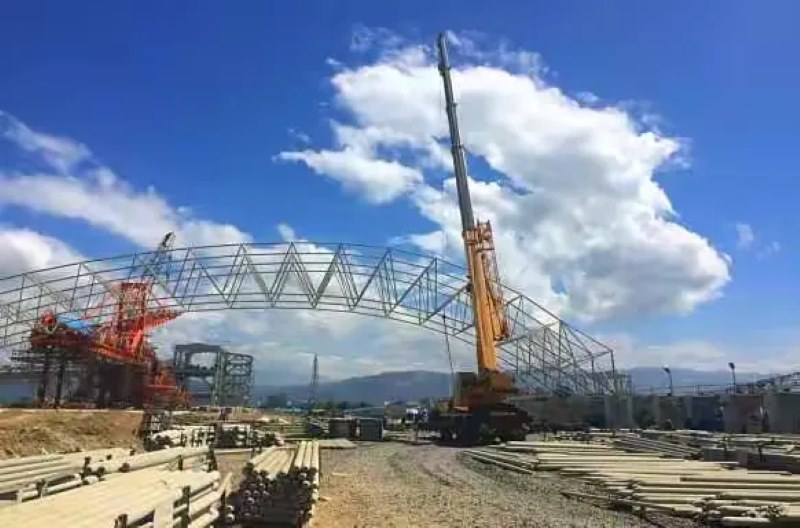
Use a crane to lift this joint section into place, making precise connections with the already installed grid structures on both sides.
This step may be a supplement to step 14 or another expression, emphasizing that the lifting of the joint section is the final assembly process for the extended parts on both sides.
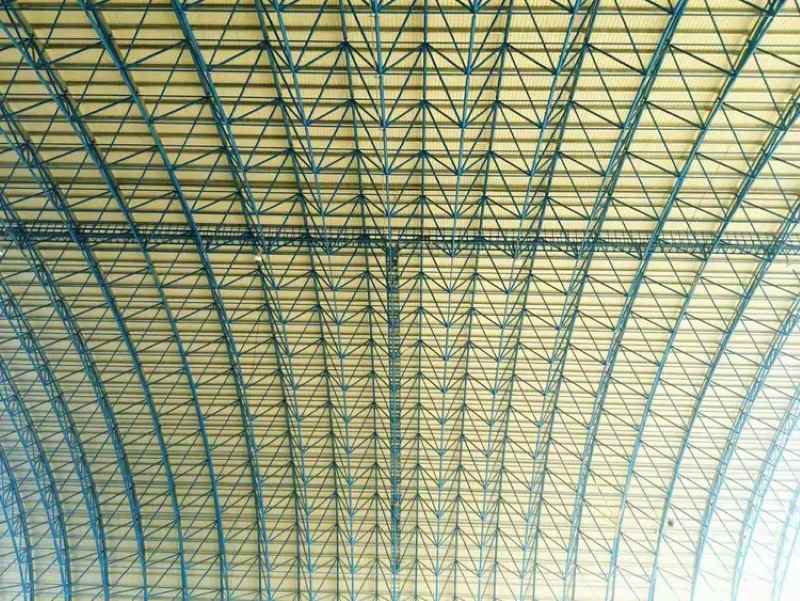
After the main grid structure is installed and accepted, the installation of the roof purlins begins.
Purlins are typically installed on the upper chord ball nodes of the grid, fixed according to the spacing and direction specified in the drawings (perpendicular to the span direction of the grid). Purlins are the direct components supporting the roof panels.
Indicates that the installation work of the main steel structure (grid + purlins) is fully completed.
Final anti-corrosion coating (finish paint) is applied to the steel structure (grid rods, ball nodes, purlins, connectors, etc.) or repairs are made to the paint layers damaged during transportation and installation. This step may also involve completing the primer and intermediate coats in the factory, with only the finish coat applied on-site.
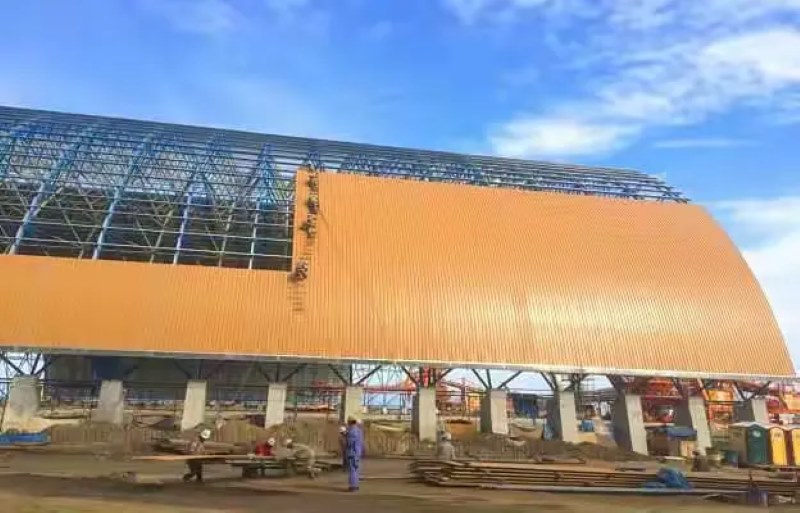
The roof panels (usually corrugated steel sheets, such as galvanized steel sheets, color steel sheets, etc.) are laid on the purlins according to design requirements and layout drawings.
Use self-tapping screws or interlocking connections to securely fix the roof panels to the purlins. Pay attention to overlaps, sealing, and waterproofing treatment.
(This step is repeated, possibly to emphasize or indicate the completion of roof panel installation in different areas. In practice, it is often combined into one step or described by area).
Color steel sheets are installed as skirt edges around the end walls or lower perimeter of the dry coal shed grid, serving to enclose, prevent dust, and enhance aesthetics.
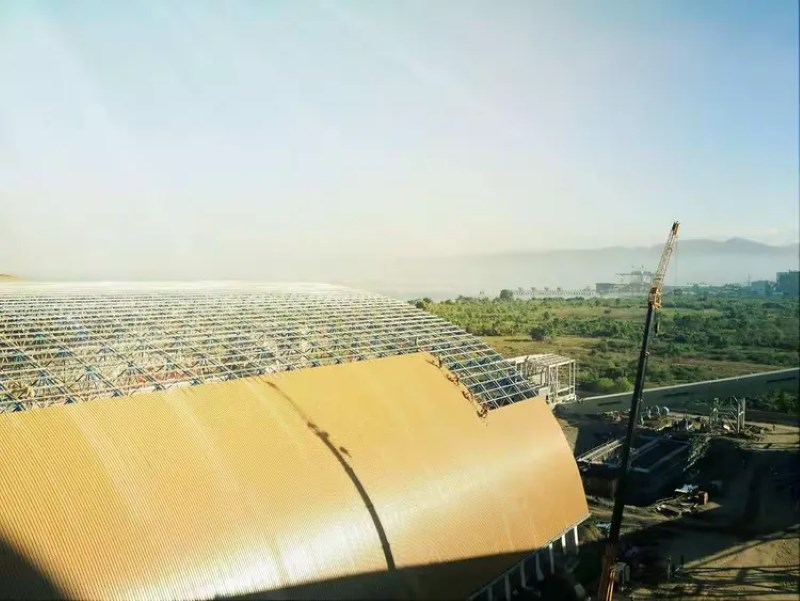
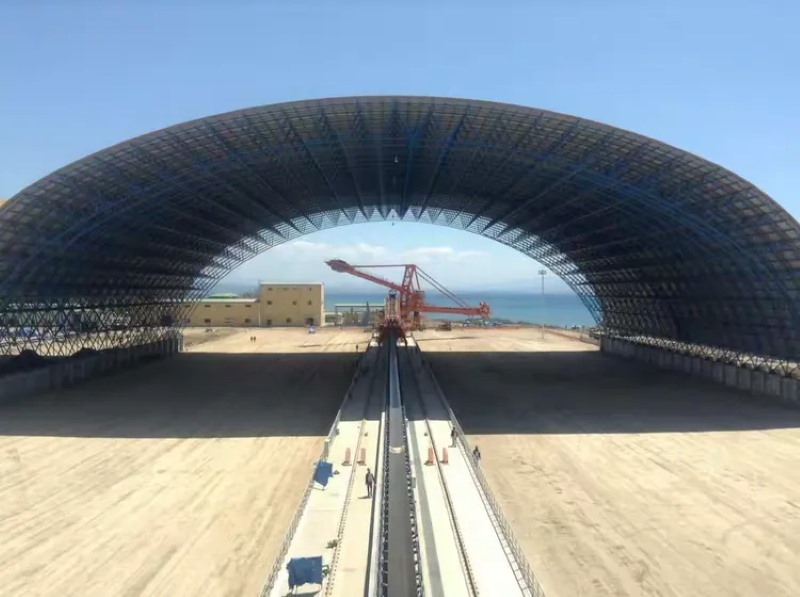
Refers to the overall appearance of the main project (grid, purlins, roof panels, skirt) after installation is complete.
This step may refer to the final finish painting of areas that are difficult to paint during installation (such as high-altitude node connections) or areas that need repair, ensuring the integrity of the entire steel structure's anti-corrosion system. It may also be combined with step 18.
All structural installations, enclosure system installations, and painting work have been completed.
Organize relevant units (owners, supervisors, general contractors, designers, construction parties) for on-site completion acceptance. Inspection items include:
Structural geometric dimensions, elevations, axis deviations.
Quality of node connections (bolt tightening torque, weld appearance, and non-destructive testing).
Quality of anti-corrosion painting (paint film thickness, adhesion, appearance).
Quality of roof and enclosure system installation (flatness, waterproofing, fixation).
Review of construction records, testing reports, and other materials.
26. Standards met:
Indicates that all acceptance indicators meet the design documents, relevant standards (such as Philippine standards, ASTM, AISC, etc.), and contract requirements, and acceptance is passed.
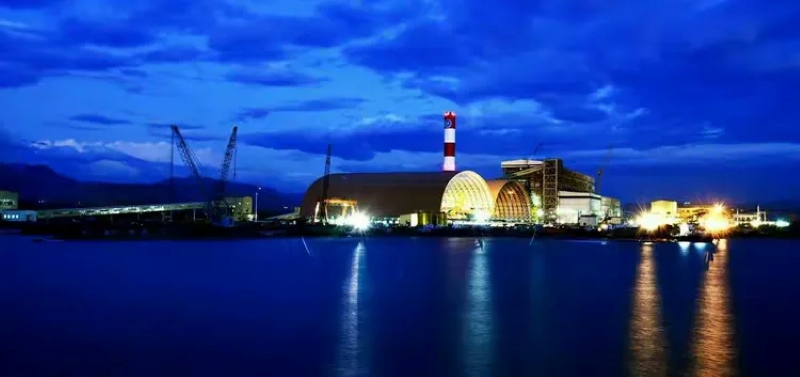
(Effect display) Overall effect photo of the project after completion under nighttime lighting.
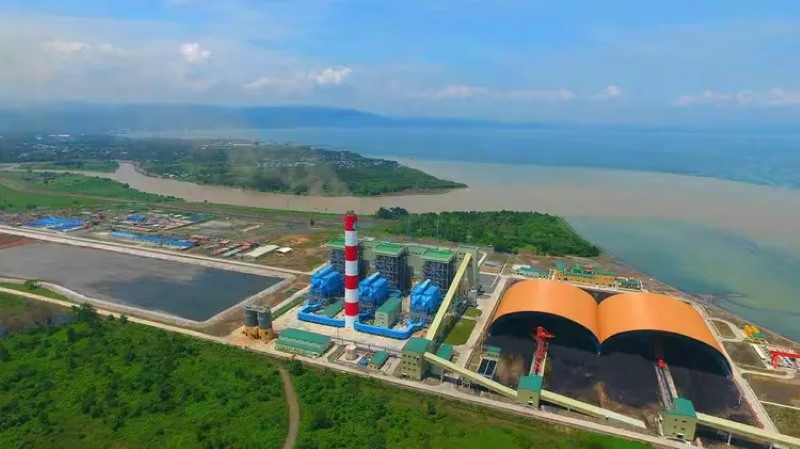
(Effect display) Overall panoramic photo of the project after completion during the daytime.
Precision in foundation: Site preparation and foundation layout are the source of installation accuracy.
Orderly materials: Component management and identification are prerequisites for efficient and accurate assembly.
Modular and lifting: Using ground small assembly (cone) combined with crane installation is a commonly used efficient method for large grids.
Process control: Starting, extending, and jointing are key stages that require crane support and strict control of deformation and stability with guy cables.
Safety first: High-altitude operations, large lifting, temporary supports, and guy wire usage must strictly adhere to safety regulations.
Process connection: Main structure (grid) → Secondary structure (purlins) → Enclosure system (roof panels, wall panels/skirt) → Coating (touch-up/finish paint).
Acceptance control: Final quality acceptance is conducted strictly according to specifications and design requirements.
This process clearly demonstrates the systematic installation process of large industrial coal shed grid structures from inception to completion, highlighting the technical points and safety control measures in space structure installation.

Why ZHM Huawu Metal Dry Coal Shed Truss Structures ?
 |
 |
 |
 |
| Reliable and Customized Designs | Cutting Edge Designing Process | Free Online Price System | Easy Bolt-by-number Assembly |
 |
 |
 |
 |
| Over Two Decades of Experience | Value For Money | Unmatched in Quality and Craftmanship | Excellent Customer Service |
Would you like to see more information and images of ZHM Huawu Steel's Metal Dry Coal Shed Truss Structures ? Visit our Photo Gallery.
HOW CAN WE HELP YOU?
ZHM’s world-class team — together with our raw material suppliers and subcontractors — works to solve your most challenging design, engineering, farbrication or construction issues.
Contact ZHM by telephone at +86 135-8815-1981 (wechat and whatsapp) or send us your questions via email to info@zhmsteelworks.com